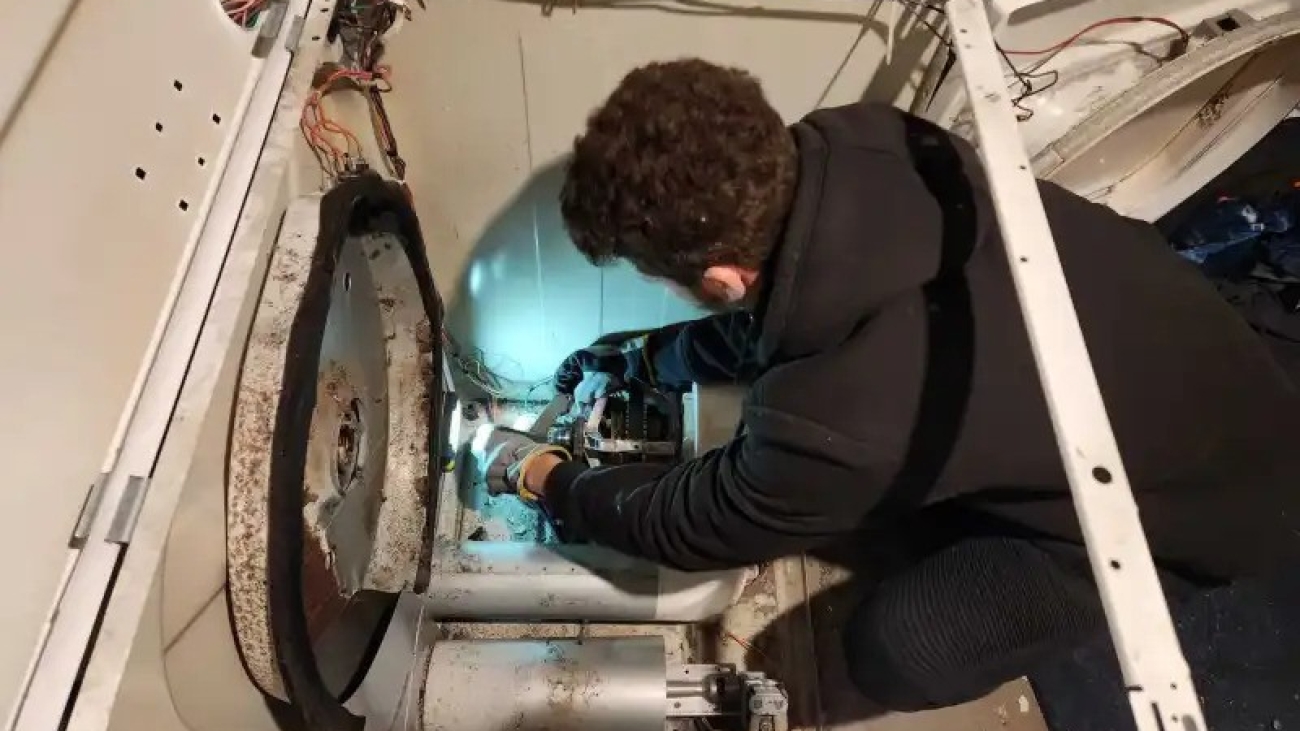
dryer repairing

Dryer Repair: How to Fix Common Issues

A clothes dryer is an essential appliance in any household, but when it starts acting up, it can cause frustration and delays. Here are some common dryer issues, troubleshooting tips, and advice on when it’s best to call a professional for assistance.

1. Dryer Won’t Start

If your dryer isn’t starting, it could be due to several potential issues, including a faulty door switch, thermal fuse, or power supply.

Solution:

  • Check the Door Switch: Ensure the door is fully closed. If the dryer still doesn’t start, the door switch might be defective and need replacement.
  • Inspect the Power Supply: Make sure the dryer is plugged in and check for a tripped circuit breaker.
  • Thermal Fuse: A blown thermal fuse can also prevent the dryer from starting. You may need a professional to replace it if it’s damaged.

Note: If none of these solve the issue, an internal wiring problem may require a technician’s help.

2. Dryer Isn’t Heating

A dryer that isn’t heating can be frustrating, as it will leave clothes damp even after a full cycle. The issue could be with the heating element, thermostat, or thermal fuse.

Solution:

  • Check the Heating Element: A burnt-out heating element won’t produce heat. If it’s damaged, it needs to be replaced.
  • Inspect the Thermostat: A faulty thermostat can prevent proper heating. You can check it with a multimeter, but a professional may be needed to replace it.
  • Thermal Fuse: The thermal fuse can blow if the dryer overheats. If this happens, the fuse needs replacement to restore heat.

3. Dryer is Making Loud Noises

If your dryer is making unusual noises, such as rattling, squeaking, or grinding, it may be due to worn-out drum rollers, a damaged belt, or an issue with the blower wheel.

Solution:

  • Drum Rollers: Check for worn-out drum rollers or bearings, which may need replacing if they’re causing rattling sounds.
  • Belt: A loose or worn belt can produce a squeaking noise. Replacing the belt can often resolve this.
  • Blower Wheel: If the blower wheel is obstructed or damaged, it can make grinding noises. Clearing debris or replacing the blower wheel can resolve the issue.

4. Dryer Won’t Tumble

When the dryer drum doesn’t spin, it could be due to a broken belt, faulty motor, or defective idler pulley.

Solution:

  • Check the Drive Belt: A broken or worn belt won’t rotate the drum. Replacing the belt can fix this.
  • Inspect the Motor: If the motor has failed, the drum won’t turn. This requires professional repair.
  • Idler Pulley: If the idler pulley is worn or damaged, it may not hold the belt in place, preventing the drum from tumbling.

When to Call a Professional

While many dryer issues have DIY solutions, some situations require the expertise of a trained technician:

  • Electrical Problems: If there are frequent tripping breakers or the dryer won’t start due to electrical issues, a professional should handle it.
  • Internal Component Replacement: Replacing parts like the motor, thermostat, or thermal fuse can be complex and require specialized tools.
  • Recurring Issues: If the dryer continues to malfunction even after troubleshooting, it’s best to get professional assistance to ensure long-lasting performance.

Conclusion

Regular maintenance and simple troubleshooting can resolve many dryer problems, but for complex repairs, it’s wise to call a professional. Reliable dryer repair can extend your appliance’s life and keep your laundry routine hassle-free.

The Essential Guide to Appliance Repair Services

The Essential Guide to Appliance Repair Services

In today’s fast-paced world, home appliances have become integral to our daily routines, providing convenience and efficiency in managing household tasks. From refrigerators and washing machines to microwaves and air conditioners, these devices help streamline our lives. However, like any other machinery, appliances can break down or malfunction over time, necessitating the need for professional repair services. This article explores the significance of appliance repair services, their benefits, and how to choose the right service provider.

Understanding Appliance Repair Services

Appliance repair services are specialized services aimed at diagnosing, troubleshooting, and fixing issues with a variety of household appliances. These services are typically offered by trained technicians who possess the skills and expertise to handle complex electronic and mechanical systems. The goal is to restore the functionality of the appliance, extend its lifespan, and save homeowners the cost of purchasing new equipment.

Common Appliances Requiring Repairs

1. Refrigerators: Issues may include temperature inconsistencies, leaks, or unusual noises. 2. Washing Machines: Common problems include failure to spin, water leakage, or error codes. 3. Dishwashers: Problems may involve poor cleaning performance, drainage issues, or door seal leaks. 4. Ovens and Stoves: Malfunctions can include uneven heating, ignition problems, or broken dials. 5. Microwaves: Issues might involve non-heating, sparking, or faulty door switches. 6. Air Conditioners: Frequent issues include poor cooling, strange noises, or refrigerant leaks.

Benefits of Professional Appliance Repair Services

1. Cost-Effective: Repairing an appliance is often more economical than replacing it entirely. Skilled technicians can fix specific issues, saving you money in the long run.

2. Expertise and Experience: Professional repair technicians possess extensive knowledge of various appliance brands and models, ensuring accurate diagnostics and effective repairs.

3. Convenience: Many repair services offer in-home repairs, saving you the hassle of transporting heavy appliances to a repair shop.

4. Time-Saving: With their expertise, professionals can quickly identify and resolve issues, minimizing downtime and disruption to your daily routine.

5. Warranty Protection: Utilizing authorized repair services can help maintain the warranty of your appliance, ensuring that any future issues are covered.

How to Choose the Right Appliance Repair Service

1. Research and Reviews: Start by researching local repair services and reading customer reviews. Positive feedback and high ratings are indicators of reliable service.

2. Certifications and Licenses: Ensure that the technicians are certified and licensed to perform repairs on your specific brand and type of appliance.

3. Experience: Opt for companies with a proven track record and years of experience in the industry.

4. Service Guarantees: Look for services that offer warranties or guarantees on their repairs, providing peace of mind and assurance of quality work.

5. Cost Estimates: Request detailed cost estimates before proceeding with repairs to avoid unexpected expenses.

6. Availability and Response Time: Choose a service provider that offers flexible scheduling and prompt response times, especially for urgent repairs.

Conclusion

Appliance repair services play a crucial role in maintaining the functionality and efficiency of household devices. By choosing the right service provider, homeowners can ensure quick, effective repairs that extend the life of their appliances. As technology advances, the need for skilled repair services will continue to grow, making it essential for consumers to stay informed and make educated decisions when selecting repair professionals. Whether it’s a minor fix or a major overhaul, professional appliance repair services are key to keeping your household running smoothly.

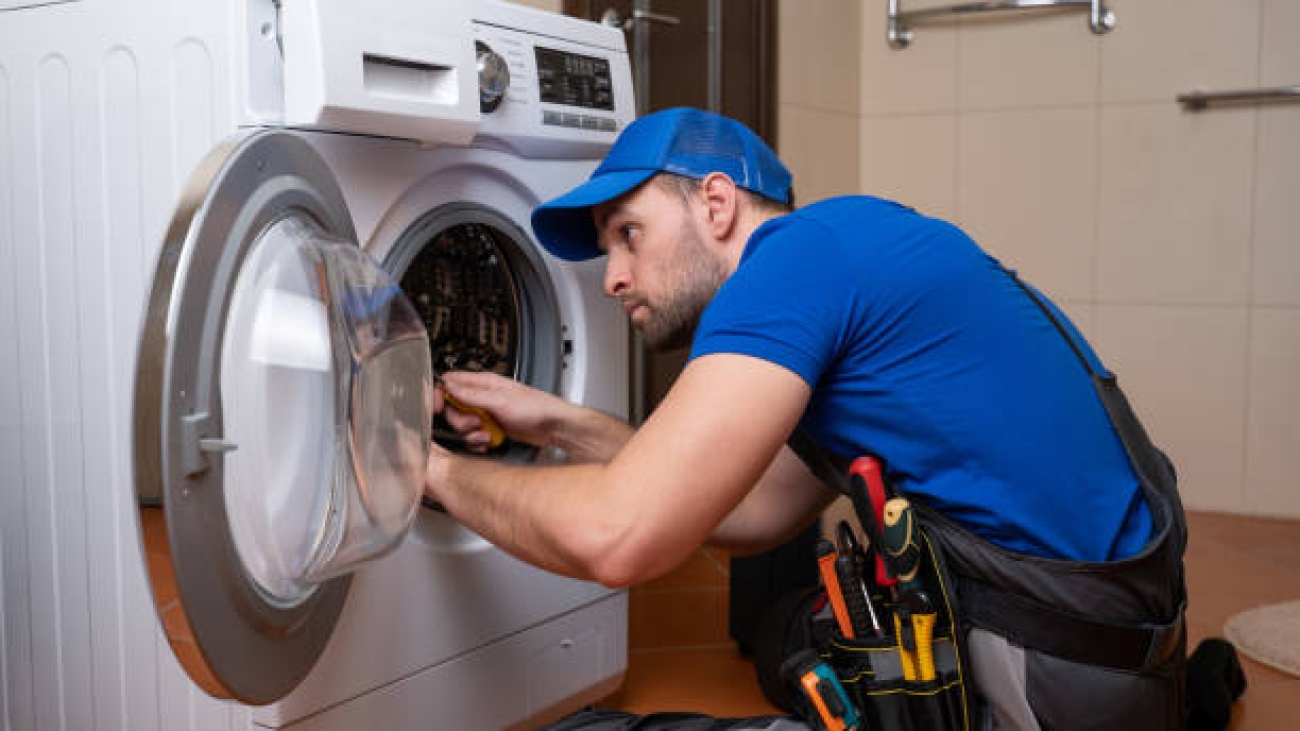
Working man plumber repairs a washing machine in home. Washing machine installation or repair. plumber connecting appliance.

Washing Machine Repair: DIY Tips and When to Call a Pro

ometimes, a washing machine problem can be fixed with basic troubleshooting techniques. Here are a few common issues and DIY solutions:

  • Washing Machine Not Draining
    Check if the drain hose is clogged or kinked. Ensure the drain filter is clear of any debris.
    Keywords: washing machine not draining, clogged drain filter, DIY washer repair

  • Machine Shaking or Vibrating Excessively
    Ensure your washing machine is level on the ground. Adjust the legs if needed and avoid overloading the washer.
    Keywords: washer vibrating, washing machine shaking, leveling washing machine

  • Washing Machine Won’t Start
    Check that the power supply is intact and make sure the door or lid is properly closed. Faulty door latches can also prevent the machine from starting.
    Keywords: washing machine won’t start, washer troubleshooting, DIY appliance repair

  • Unpleasant Smells in the Washer
    Run an empty cycle with hot water and vinegar to clean out any mold or mildew buildup.
    Keywords: washing machine smells, mold in washer, cleaning washing machine


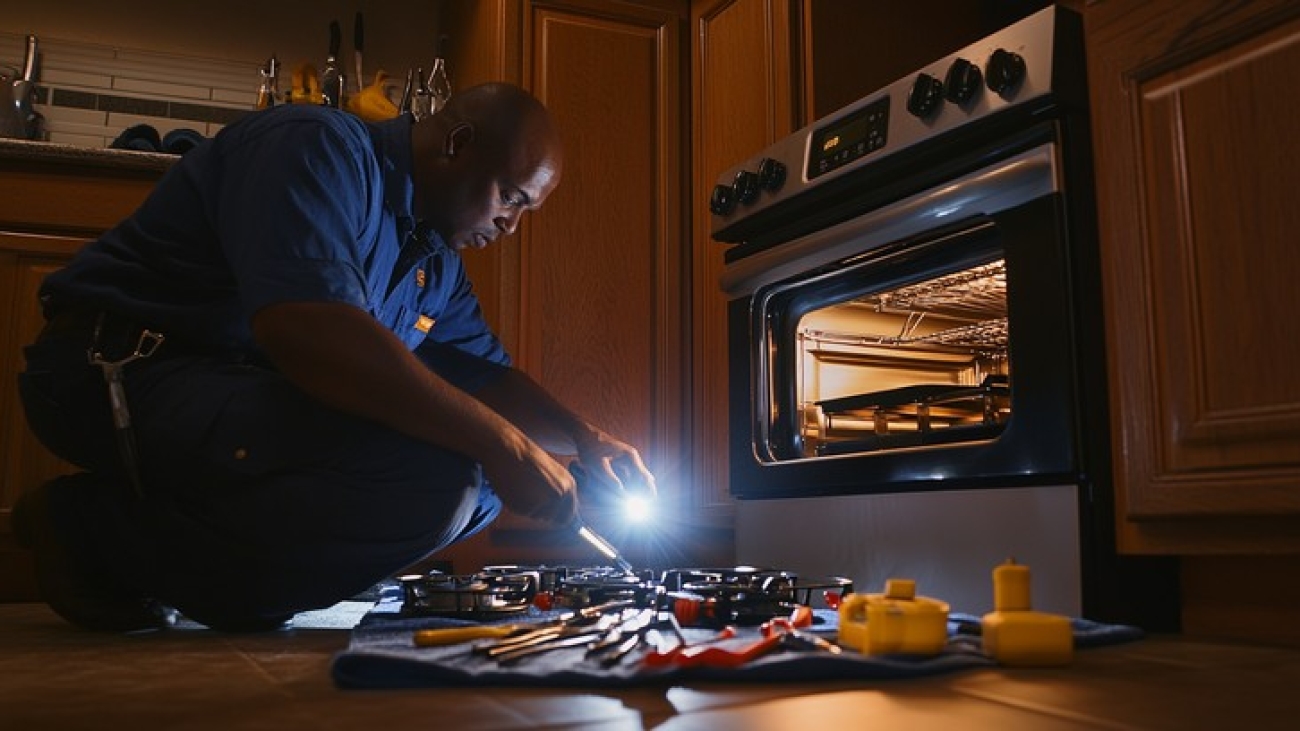
oven-repair-work

Oven and Stove Repair: What You Need to Know

Ovens and stoves are essential appliances in any kitchen, making it inconvenient and frustrating when they malfunction. While some issues can be handled with a few troubleshooting steps, others need professional repair. This guide explains common oven and stove problems, how to troubleshoot them, and when it’s best to call a professional for help.

1. Common Oven and Stove Issues

Several issues can cause an oven or stove to malfunction, such as:

  • Uneven Heating in the Oven
    If food isn’t cooking evenly, there may be a problem with the heating elements. Gas ovens might have issues with the igniter, while electric ovens may have a burned-out element.

  • Gas Burner Won’t Ignite
    For gas stoves, a common issue is the burner failing to ignite. This could be due to food debris blocking the burner or a faulty ignition switch. Cleaning the burner and checking for blockages can sometimes resolve this issue.

  • Electric Burner Won’t Heat
    Electric stoves rely on heating coils that can burn out over time. If one of the burners isn’t heating, it may need replacement or the control switch may be faulty.

  • Oven Door Won’t Close Properly
    A malfunctioning door hinge or a worn-out seal can prevent the oven from closing properly, affecting its cooking performance. This issue can often be resolved by replacing the hinge or the door seal.

2. DIY Troubleshooting Tips

Some issues with ovens and stoves can be fixed with basic troubleshooting:

  • Check the Power Source
    Ensure that the appliance is properly connected to its power source. For electric ovens, confirm that the circuit breaker hasn’t tripped.

  • Clean Burners and Heating Elements
    Gas burners and electric coils can accumulate food particles or grease, affecting performance. Regularly cleaning these parts can improve functionality.

  • Test the Igniter and Heating Element
    If you notice uneven heating or the gas burner isn’t igniting, check the igniter. For electric models, carefully examine the heating element. Replacing these parts can resolve many performance issues.

3. When to Call a Professional

While simple issues can sometimes be handled on your own, certain oven and stove repairs require professional help:

  • Electrical or Gas Problems
    Electrical and gas issues can be dangerous if mishandled. If your oven isn’t receiving power or if you smell gas, it’s best to call a professional immediately.

  • Faulty Control Panel or Thermostat
    If the control panel or thermostat isn’t functioning correctly, it may prevent the appliance from maintaining the desired temperature. A professional technician can diagnose and replace these parts safely.

  • Internal Component Failures
    Problems with internal components like the fan, thermostat, or gas regulator are complex and require expert repair to ensure safe and effective operation.

Conclusion

A well-functioning oven and stove are vital for a smooth cooking experience. While basic cleaning and troubleshooting can resolve minor issues, serious repairs involving gas or electricity should be handled by professionals. If you’re experiencing ongoing issues with your oven or stove, reach out to a trusted repair service for safe and reliable assistance.

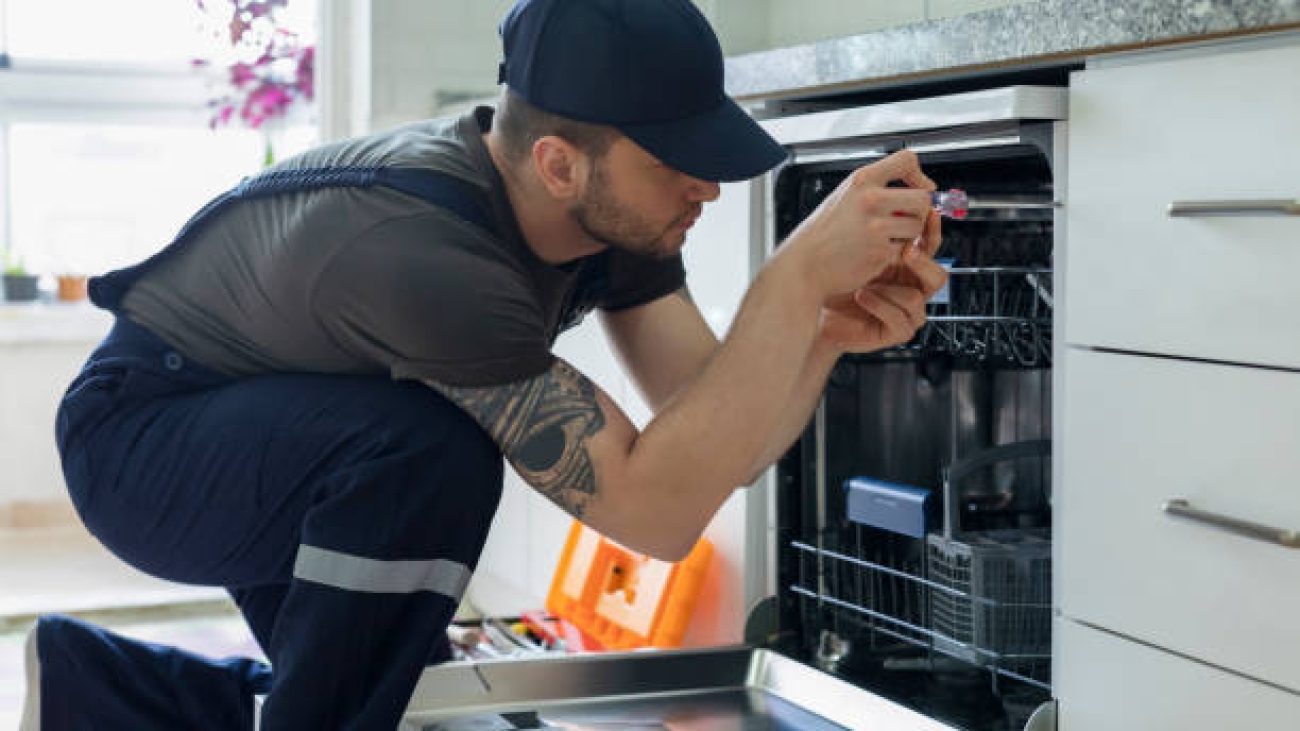
Technician examining dishwasher

Dishwasher Repair: Common Problems and Solutions

A dishwasher is a great appliance that saves time and water, but when it malfunctions, it can disrupt your routine. Here’s a guide to common dishwasher issues, troubleshooting steps, and tips for when to call a professional.

1. Common Dishwasher Problems and Solutions

Problem 1: Dishwasher Not Draining
One of the most frequent issues with dishwashers is that water remains in the bottom after a cycle. This could be due to a clogged drain, filter, or garbage disposal connection.

Solution:
Check the dishwasher’s filter and drain for any debris or food particles and clean them out. Ensure that the drain hose is free of kinks. If the problem persists, a blockage may require professional attention.

Problem 2: Dishes Aren’t Getting Clean
If your dishes come out with food residue or a cloudy film, it might be due to insufficient water flow, detergent issues, or a clogged spray arm.

Solution:
First, ensure you’re using the correct dishwasher detergent and the appropriate cycle for the load. Check the spray arms for blockages and clean them to improve water flow. Also, make sure your water heater is set to at least 120°F for optimal cleaning.

Problem 3: Dishwasher Leaks
Water leaking from your dishwasher could be due to a faulty door seal, loose hose connections, or an issue with the float switch, which controls water levels.

Solution:
Inspect the door gasket for any cracks or tears and replace it if necessary. Tighten any loose hoses and ensure the float switch is free of debris. Persistent leaks may indicate an internal issue that needs professional repair.

Problem 4: Dishwasher Makes Strange Noises
Unusual noises like grinding, buzzing, or rattling can signal a problem with the motor, pump, or spray arm.

Solution:
Check that the spray arm isn’t hitting anything inside the dishwasher. If you hear a grinding noise, there might be a foreign object in the pump, which you can clear by disconnecting the appliance and removing debris. Persistent noises should be inspected by a professional to avoid motor or pump damage.

2. When to Call a Professional

While DIY troubleshooting can resolve some minor dishwasher issues, certain problems are best handled by a professional:

  • Persistent Drainage or Leakage Issues
    If your dishwasher continually fails to drain or leaks, a technician can safely identify and fix any deeper issues, such as a failing pump or damaged hoses.

  • Electrical Issues
    Problems like the dishwasher not starting, turning off mid-cycle, or electrical faults should be handled by a professional to ensure safety.

  • Control Panel Malfunctions
    Issues with the control panel or buttons might indicate a need for part replacement, which requires technical expertise.

Conclusion

For many dishwasher issues, simple troubleshooting can go a long way. However, when it comes to complex repairs, involving an expert is essential for safety and reliability. Proper maintenance and timely professional help can keep your dishwasher running efficiently for years to come.

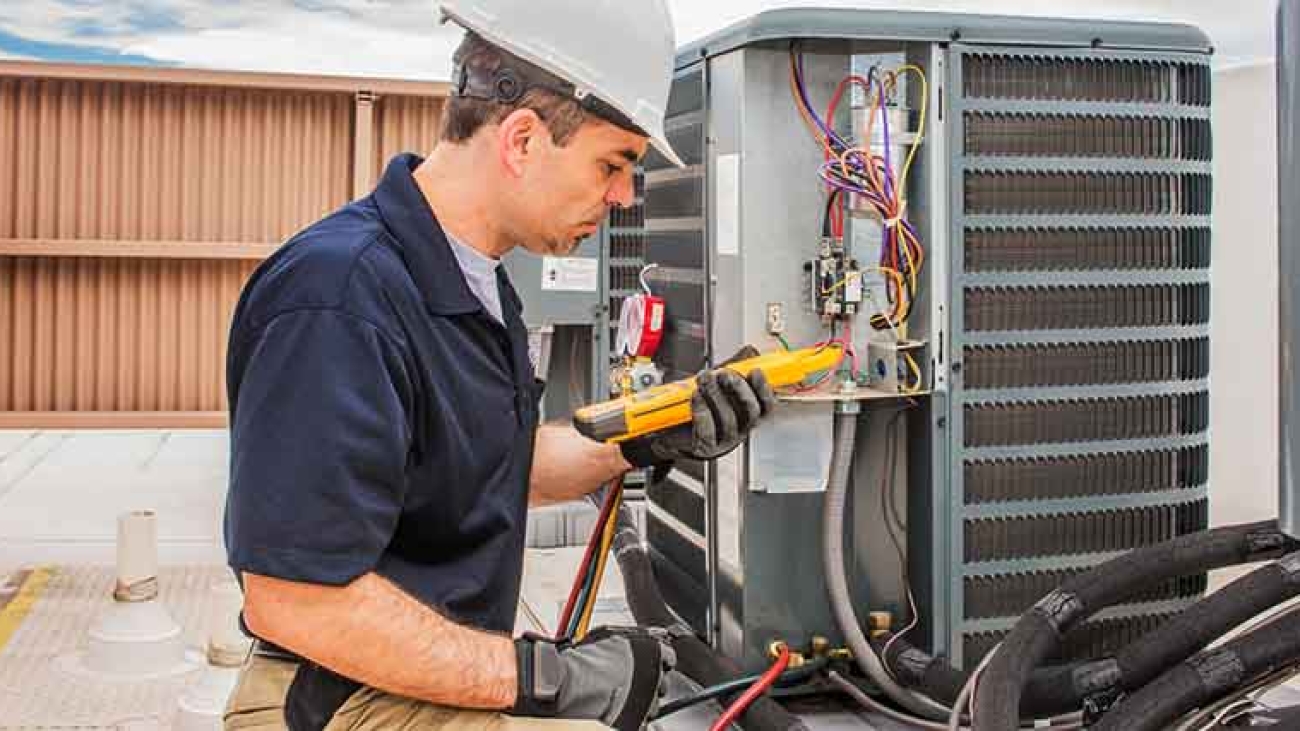
hvacr-technician-reparing

HVAC Repair: Keeping Your Home Comfortable

A reliable HVAC system is essential for maintaining a comfortable home environment, whether it’s keeping cool during the UAE’s hot summers or staying cozy during cooler months. Like any other appliance, HVAC systems can develop issues over time, impacting their efficiency and comfort level. Here’s a look at common HVAC problems, troubleshooting tips, and when to seek professional assistance.

1. Common HVAC Problems and Solutions

Problem 1: Inadequate Cooling or Heating
If your HVAC system is not providing enough cooling or heating, it could be due to blocked air filters, low refrigerant levels, or issues with the thermostat.

Solution:

  • Check Air Filters: Clogged filters restrict airflow, reducing efficiency. Replacing or cleaning filters every few months can improve performance.
  • Refrigerant Levels: Low refrigerant levels can affect cooling. Only a professional should check and refill refrigerant to ensure safe and efficient operation.
  • Thermostat Settings: Ensure the thermostat is set correctly, and check its batteries if it’s not responding. A malfunctioning thermostat may need professional calibration or replacement.

Problem 2: HVAC System Won’t Start
If your HVAC system doesn’t start at all, it may be due to a tripped circuit breaker, loose wiring, or a problem with the blower motor.

Solution:

  • Circuit Breaker: Check the breaker box to ensure the circuit hasn’t tripped. If it’s a recurring problem, an electrical issue may need professional attention.
  • Wiring Issues: Loose or disconnected wiring can prevent your HVAC from starting. Since handling wiring is risky, it’s best to call a technician for these repairs.
  • Blower Motor: The blower motor is essential for circulating air. If it’s faulty, the HVAC system won’t start and may need replacement by a professional.

Problem 3: Unusual Noises
Grinding, squealing, or rattling noises indicate that something may be wrong with your HVAC system’s internal components, like the fan, motor, or compressor.

Solution:

  • Fan Issues: If debris obstructs the fan or if the fan blades are bent, it can produce unusual sounds. Cleaning or realigning the blades can help.
  • Motor and Compressor: Strange sounds from the motor or compressor usually require a technician, as these parts may be worn out and need replacing.

2. When to Call a Professional for HVAC Repair

While some minor HVAC issues can be resolved with simple troubleshooting, many problems require the expertise of a licensed technician:

  • Refrigerant Leaks: Handling refrigerants requires specific tools and knowledge, as it can be hazardous. A professional can safely refill and test the system for leaks.
  • Electrical Issues: Electrical repairs can be dangerous. For any wiring, motor, or circuit breaker issues, it’s best to hire a professional.
  • Regular Maintenance: Annual or semi-annual maintenance can prevent many issues and extend the life of your HVAC system, ensuring it works efficiently.

Conclusion

Keeping your HVAC system in top shape is essential for maintaining a comfortable and energy-efficient home. Regular maintenance, along with timely repairs, can prevent breakdowns and costly fixes down the road. For safe and effective HVAC repairs in the UAE, it’s always best to rely on trained professionals.

Microwave Repairing Services

Microwave Repair: When to DIY and When to Call a Professional

Microwaves are convenient and essential appliances in most kitchens, helping us quickly heat up and cook food. But like any appliance, microwaves can malfunction over time. While some minor issues can be fixed on your own, others require the expertise of a professional. This guide covers common microwave issues, troubleshooting tips, and advice on when to call a technician.

1. Common Microwave Problems and DIY Solutions

Problem 1: Microwave Won’t Turn On
If your microwave isn’t powering on, it could be due to a blown fuse, faulty door switch, or a problem with the power supply.

Solution:

  • Check the Power Supply: Ensure the microwave is securely plugged in and that the circuit breaker hasn’t tripped.
  • Inspect the Door Switch: The microwave won’t start if the door switch is faulty. Open and close the door firmly to see if the issue resolves. If not, the door switch may need replacement, which you can attempt if you’re comfortable with basic repairs.
  • Check the Fuse: Microwaves have internal fuses that can blow if there’s a power surge. Replacing a fuse is generally safe to do, but be cautious when handling the internal components.

Problem 2: Microwave Isn’t Heating
When the microwave turns on but doesn’t heat food, the issue could be with the magnetron (the heating element), capacitor, or diode.

Solution:

  • Magnetron and Diode Issues: A faulty magnetron or diode can prevent heating, but these parts are complex and potentially dangerous to repair. DIY replacement is not advised, as handling the high-voltage components in a microwave can be hazardous.
  • Test with Other Items: If small metal pieces or foil are accidentally placed inside, it can disrupt heating. Make sure to remove any objects that may affect the microwave’s functionality.

Problem 3: Turntable Isn’t Spinning
A non-spinning turntable can lead to uneven heating and is usually due to issues with the turntable motor, roller guide, or coupler.

Solution:

  • Check the Roller Guide and Coupler: If the turntable isn’t turning, check for debris or obstructions under the turntable plate, which can easily be cleaned.
  • Inspect the Turntable Motor: The turntable motor might need replacement if it’s defective. While some models allow for easy motor replacement, it’s recommended to get professional help if you’re unfamiliar with the process.

Problem 4: Unusual Noises or Sparks
Grinding, buzzing, or sparking inside the microwave can be alarming. This may be caused by metal particles, loose internal parts, or a damaged waveguide cover.

Solution:

  • Remove Metal Objects: Metallic objects or utensils can create sparks and damage the appliance. Always double-check before starting the microwave.
  • Clean the Waveguide Cover: Food splatter on the waveguide cover can cause sparks. Carefully clean the inside of your microwave and inspect the waveguide for damage.

2. When to Call a Professional

Certain microwave repairs should be left to professionals, as they involve high-voltage components and complex parts:

  • Magnetron, Capacitor, or Diode Issues: Replacing or repairing these parts is dangerous due to the high voltage. It’s best to call a technician to safely handle these repairs.
  • Electrical Problems: If the microwave frequently trips the circuit or shows signs of electrical issues, a professional should handle it to avoid fire hazards.
  • Persistent Problems: If the microwave continues to malfunction even after troubleshooting, calling a technician ensures a comprehensive check and proper repair.

Conclusion

Knowing when to DIY and when to call a professional can save you time, money, and potential safety risks. While minor issues like power supply checks or roller guide cleaning are safe to handle on your own, complex repairs should be left to a trained technician.

Electronic Repairs

Appliance Maintenance Tips to Extend the Life of Your Devices

Household appliances are essential for our daily routines, from washing machines to microwaves, but regular maintenance is key to ensuring they last as long as possible. Here are practical tips to keep your appliances in top condition, reduce the risk of costly repairs, and extend their life.

1. Refrigerator Maintenance

Your refrigerator runs non-stop, so it’s important to maintain it regularly for efficiency.

  • Clean the Coils: Vacuum the condenser coils every six months to prevent dust buildup. Dirty coils make the fridge work harder, consuming more energy and reducing its lifespan.
  • Check Door Seals: Ensure the door seals are airtight by placing a piece of paper between the door and the fridge. If the paper slips out easily, the seals may need replacement.
  • Temperature Settings: Keep the fridge set at 37-40°F (3-4°C) and the freezer at 0°F (-18°C) for optimal performance.

2. Washing Machine Maintenance

A well-maintained washing machine not only cleans better but also lasts longer.

  • Avoid Overloading: Overloading puts strain on the drum and motor, leading to premature wear. Follow the manufacturer’s recommendations for load size.
  • Clean the Dispenser and Drum: Run an empty wash with hot water and a cup of vinegar every month to remove detergent buildup and odors.
  • Check Hoses: Inspect the water hoses regularly for cracks or bulges, and replace them every five years to prevent leaks.

3. Dishwasher Maintenance

Proper dishwasher care ensures dishes come out sparkling and the appliance remains energy efficient.

  • Clean the Filter: Remove and clean the filter every month to prevent food particles from clogging the system and affecting cleaning performance.
  • Check the Spray Arms: Inspect the spray arms for blockages and clean out any debris to ensure even water distribution.
  • Use the Right Detergent: Avoid using too much detergent, as it can lead to residue buildup. Follow the manufacturer’s guidelines to keep your dishwasher running smoothly.

4. Oven and Stove Maintenance

A clean and well-maintained oven ensures even cooking and reduces the risk of breakdowns.

  • Clean Regularly: Avoid harsh chemicals and use a damp cloth to clean spills after each use. For deeper cleaning, use a baking soda paste on tough stains.
  • Check the Door Seal: Heat can escape if the oven door seal is damaged, causing inefficient cooking and higher energy use. Replace the seal if you notice any gaps.
  • Inspect Burners: For gas stoves, clean the burner holes regularly to avoid clogs that can disrupt the flame.

5. Microwave Maintenance

Simple cleaning practices can keep your microwave functioning at its best.

  • Clean the Interior: Wipe down the interior regularly to remove food splatters. You can steam-clean it by heating a cup of water and lemon juice for a few minutes.
  • Inspect the Turntable: Check that the turntable rotates smoothly. Remove and clean it to avoid food debris buildup.
  • Check the Door and Seals: If the door doesn’t close properly, it could impact cooking efficiency. Ensure the seals are clean and undamaged.

6. HVAC System Maintenance

A well-maintained HVAC system can improve energy efficiency and air quality in your home.

  • Change Filters Regularly: Change the air filters every 1-3 months to improve airflow and maintain indoor air quality.
  • Clean the Vents: Dust and vacuum the vents to prevent debris from entering the system and to keep airflow steady.
  • Schedule Professional Checkups: An annual inspection by a professional can help identify and address issues before they lead to major repairs.
best-electric-kettles-lead-badged-cnnu

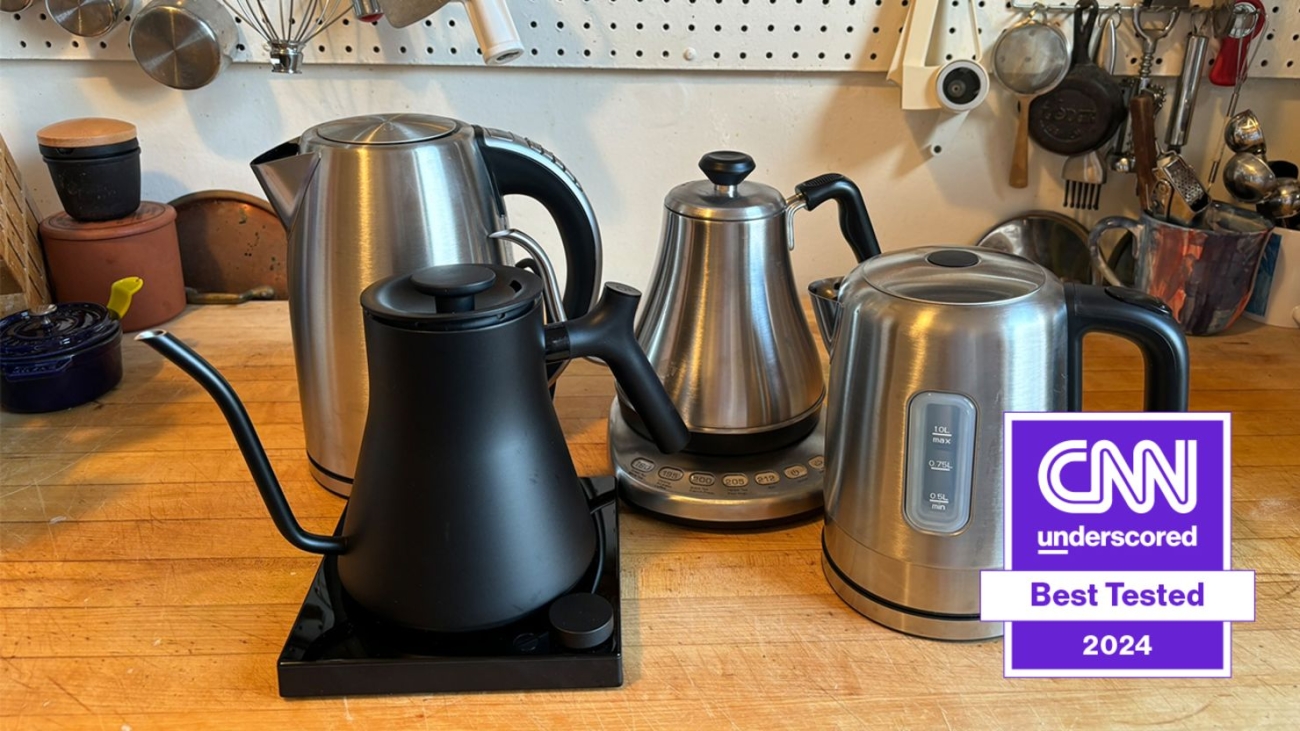
Troubleshooting Common Issues with Electric Kettles

Electric kettles are a convenient kitchen appliance, allowing us to quickly boil water for tea, coffee, and cooking. However, over time, electric kettles can develop issues that hinder their performance. Here’s a guide to troubleshooting some common electric kettle problems, along with tips on when it’s best to seek professional help.

1. Kettle Won’t Turn On

If your electric kettle isn’t turning on, it could be due to a power issue, a faulty switch, or a malfunctioning heating element.

Solution:

  • Check the Power Source: Ensure the kettle is securely plugged in and that the outlet is functioning by testing it with another appliance.
  • Examine the Power Switch: If the switch is loose or feels stuck, it may be faulty and need replacement.
  • Inspect the Heating Element: The heating element can wear out over time. A faulty element may need a professional to replace it, as it requires dismantling the kettle.

2. Kettle Turns Off Before Boiling

If the kettle stops heating before the water reaches boiling point, it may be due to mineral buildup, a misaligned lid, or a malfunctioning thermostat.

Solution:

  • Clean the Kettle: Limescale buildup on the heating element can affect the kettle’s performance. Use a descaling solution or vinegar and water mixture to clean the inside of the kettle.
  • Check the Lid: Ensure the lid is tightly closed, as a loose lid can prevent the kettle from reaching the correct temperature.
  • Thermostat Issue: If the kettle continues to turn off early, the thermostat may need replacing. This is a complex repair best handled by a technician.

3. Kettle Is Leaking

Leaking kettles can be a safety hazard, and the cause is usually due to wear around the base or body cracks from frequent use.

Solution:

  • Inspect for Cracks: Check the body of the kettle for any visible cracks or weak spots. If it’s cracked, replacement is usually safer than repair.
  • Examine the Seals: Over time, the seals around the heating element or lid can deteriorate. If you spot minor leaks, replacing the seals may resolve the issue. Consult a professional if the leak persists.

4. Kettle Doesn’t Shut Off Automatically

If your kettle isn’t turning off automatically after the water boils, it could be due to a sensor problem or an obstructed steam vent.

Solution:

  • Clear the Steam Vent: The automatic shutoff relies on steam flow to signal the kettle to turn off. Ensure there’s no debris or mineral buildup blocking the vent.
  • Check the Sensor: The sensor could be faulty, especially if the kettle has been used extensively. Replacing the sensor requires expertise, so consider consulting a technician.

5. Strange Noises or Smells

If your kettle is making unusual noises or emitting strange smells, it could be due to mineral buildup, a damaged heating element, or residue inside the kettle.

Solution:

  • Descale the Kettle: Mineral deposits can cause hissing or rattling sounds as the water heats. Descaling the kettle can often resolve this issue.
  • Clean the Inside: If there are burnt smells, it could indicate leftover residue. Clean the interior with a vinegar solution or a mild detergent.
  • Inspect the Heating Element: If the noise or smell persists, the heating element may be damaged and could need professional repair.

6. Kettle Not Heating Properly

If the kettle is taking much longer than usual to heat, or if it’s not reaching the right temperature, it could be due to limescale buildup or a failing heating element.

Solution:

  • Descale the Kettle Regularly: Limescale buildup on the heating element reduces efficiency. Regular cleaning helps maintain heating speed.
  • Check the Heating Element: A worn or faulty heating element may require replacement. This task is best handled by a professional technician to avoid further damage.
Diswaser reparing dubai

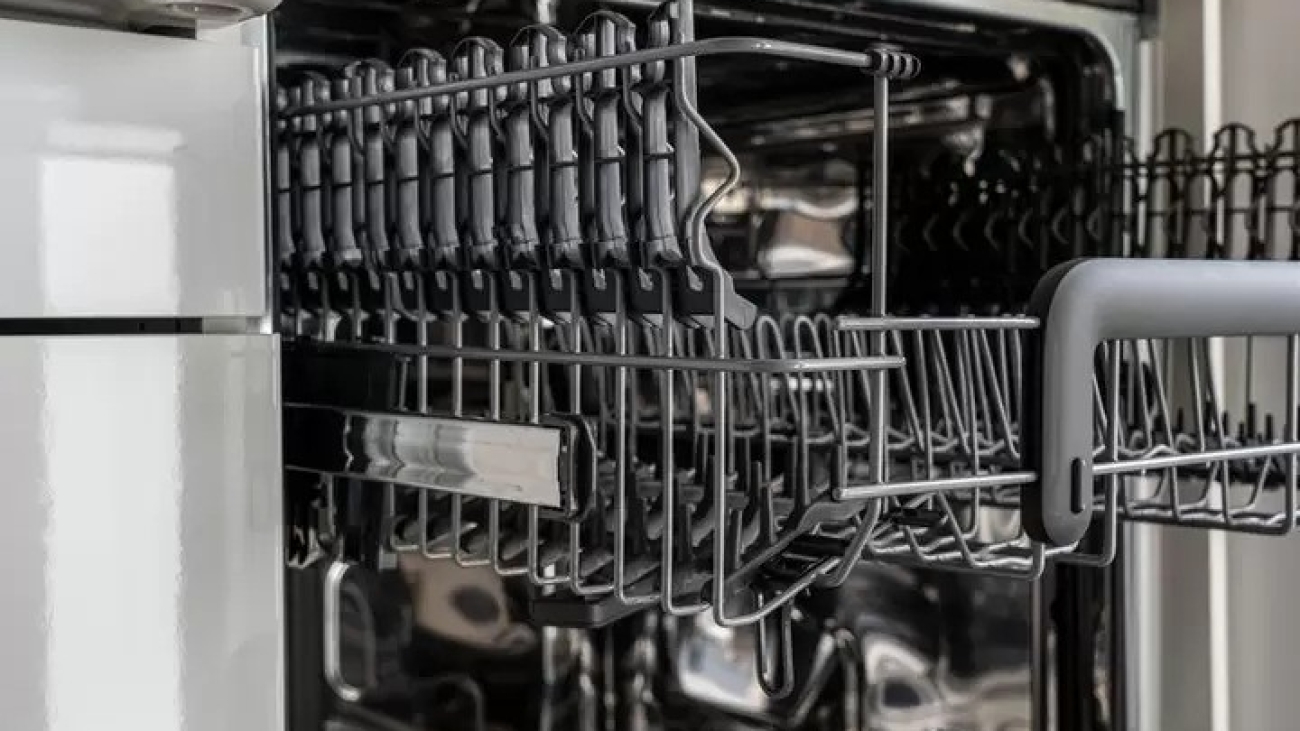
How to Fix a Leaky Dishwasher: Step-by-Step Guide

A leaky dishwasher can cause water damage, lead to mold, and create an overall mess in the kitchen. Fortunately, many dishwasher leaks are easy to identify and fix with a few basic tools. Here’s a guide to help you troubleshoot and fix common dishwasher leaks.

Step 1: Identify the Source of the Leak

Dishwasher leaks can come from several parts, such as the door, hoses, or pump. Identifying the source will help you find the correct solution.

  • Door Leak: Leaks around the door indicate issues with the door gasket or latch.
  • Underneath the Dishwasher: Water under the appliance might mean a problem with the pump, hoses, or seals.
  • Around the Drain: Leaks near the drain may be due to loose fittings, clogged drains, or a broken seal.

Step 2: Check the Door Gasket

The door gasket (rubber seal) ensures the door closes tightly and prevents leaks.

  1. Inspect the Gasket: Look for cracks, tears, or signs of wear on the gasket.
  2. Clean the Gasket: Debris buildup can affect the gasket’s ability to seal. Clean it with a mild detergent and a damp cloth.
  3. Replace the Gasket if Needed: If the gasket is damaged, it’s best to replace it. Remove the old gasket and press a new one into the groove, following the manufacturer’s instructions.

Step 3: Inspect the Door Latch

A door that doesn’t close properly can cause leaks, especially during wash cycles.

  1. Check the Latch: Ensure the door closes securely. If it feels loose, try tightening the screws.
  2. Adjust the Latch if Necessary: Some models allow for latch adjustment. Adjust it so the door closes snugly without requiring excessive force.

Step 4: Check the Dishwasher Hoses

The inlet and drain hoses carry water in and out of the dishwasher, and any cracks or loose connections can lead to leaks.

  1. Inspect for Cracks or Damage: Check the inlet and drain hoses for visible cracks or signs of wear.
  2. Tighten the Connections: Ensure that both ends of the hoses are securely connected. Use a wrench to tighten any loose fittings.
  3. Replace Damaged Hoses: If you see cracks, replace the hose with a compatible one for your dishwasher model.

Step 5: Examine the Pump and Motor

The pump circulates water inside the dishwasher and drains it after the cycle. A faulty pump can lead to leaks, especially if it’s worn or damaged.

  1. Locate the Pump: Access the pump by removing the bottom panel of the dishwasher.
  2. Inspect for Leaks: Look for water around the pump and motor area.
  3. Tighten Loose Screws: If the pump or motor is loose, tighten any screws to secure them in place.
  4. Replace Worn Seals or the Pump: If you see worn seals or a damaged pump, consult a professional, as replacing the pump involves handling electrical parts.

Step 6: Check the Float and Inlet Valve

The float and inlet valve regulate the water level inside the dishwasher. If either malfunctions, the dishwasher might overfill and leak.

  1. Inspect the Float: The float is usually a small plastic piece near the front of the dishwasher floor. Check if it moves freely and isn’t stuck.
  2. Clean the Float: If it’s dirty, clean the float to ensure it moves properly.
  3. Test the Inlet Valve: If the dishwasher still overfills, the inlet valve might be defective and should be replaced by a professional.

Step 7: Run a Test Cycle

After addressing potential causes, run a short cycle to check for leaks.

  1. Run the Dishwasher Empty: A test cycle without dishes helps you monitor for leaks.
  2. Observe for Leaks: Check around the door, underneath, and around the hoses during the cycle.
  3. Confirm the Fix: If you notice no leaks, your dishwasher is ready for regular use again.

Conclusion

A leaking dishwasher can be both an inconvenience and a risk for water damage, but many leaks can be fixed with basic tools and a little time. By following these steps, you’ll address the most common causes of dishwasher leaks and potentially save on repair costs.